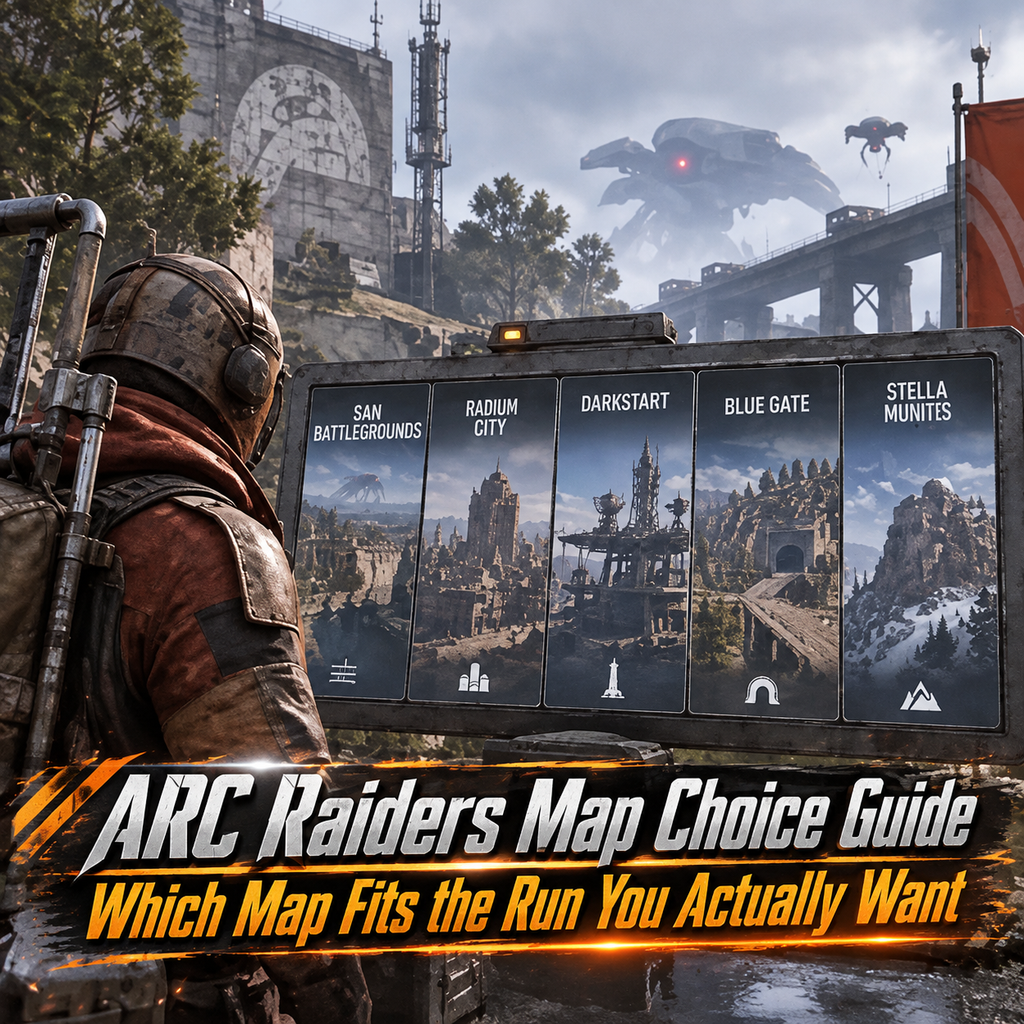
Map select is not a prestige board. It is a loadout decision you make before you risk the kit you can actually afford to lose. Name the run first—recover scrap, farm a craft chain, push a condition objective, or train extract discipline—then match the map to that job. Early prep for ARC Raiders Items belongs in that same step: pack what the terrain and extract type demand, not whatever looks flashy in Speranza.
Lock the run goal before you lock the map
Every raid on the Rust Belt shares the same spine: scavenge topside, survive ARC and other Raiders, extract before the timer folds you. The maps do not share the same pressure shape. Dam Battlegrounds teaches space and soft routes. Buried City packs tight streets and rooftops. Spaceport funnels tech loot into industrial lanes with loud central elevators. The Blue Gate mixes open valley approaches with underground choke fights. Stella Montis is layered indoor combat. Riven Tides splits resort rooms from a working port. Pendola Pass trades tunnel exits for a Ballistic Gondola call.
Before you queue, answer four questions out loud:
- What container types am I hunting this hour—electrical, medical, residential, industrial, or tech?
- Do I need a quiet edge extract, or am I willing to contest a loud public return point?
- Is a major Map Condition live, and does it close Raider Hatches or cut Return Points?
- Am I solo, duo, or trio—and is my kit priced for a learning run or a greed run?
If you cannot answer those, stay on Dam or cancel the queue. A wrong map burns the same gear as a bad fight.
Dam Battlegrounds — learning space and electrical routes
Dam is the starter map and still the cleanest place to practice the full loop. Forests, swamps, research blocks, and apartments give you multiple route shapes instead of one corridor. Edge loops around Hydroponic Domes and water-treatment side buildings favor recoveries and craft-material fills. The dam spine around Control Tower and Research & Administration pays denser technological and security loot, and it also draws third parties who hear the same plan you have.
Pick Dam when: you are rebuilding after a wipe, teaching a squadmate extract timing, or hunting electrical and industrial components without committing to a night-tier condition.
Skip Dam when: your only goal is medical density, Exodus-tech containers, or a sealed-condition objective that only appears elsewhere. Do not force Control Tower if your bag is already valuable and an edge elevator is open.
Loadout match: light-to-mid shield, enough heals for a swamp rotate, gadgets that cover an elevator wait. Hatch Key is optional insurance—never your only plan.
Buried City — medical streets and metro noise
Buried City is a sand-choked pre-collapse grid: hospital, mall, plazas, apartments. Vertical rooftops and narrow interiors create short sightlines and sudden CQB. Medical and residential containers concentrate here more than on Dam’s swamp edges. Extractions lean on Metro Stations; calling a train is loud, and opposite-side connections can dump you into someone else’s fight.
Pick Buried City when: you need medical bags, commercial/residential salvage, or rooftop practice for close peeks.
Skip it when: you hate contested public extracts, you are under-geared for hallway ambushes, or a Hurricane/Night condition is live and you only brought a free-loadout kit.
Loadout match: close-range primary or a flexible AR, door tools, and a pre-chosen metro with a backup hatch path if hatches are active.
Spaceport — tech dens and elevator funnels
Acerra Spaceport is the derelict Exodus launch facility. Industrial buildings, launch towers, arrivals/departures, and container yards stock the tech and industrial pieces Dam only samples. Public Cargo Elevators often sit toward the center of activity, so a full bag walk to extract is a fight decision, not a commute. Hidden Bunker and Launch Tower Loot conditions turn the map into an objective magnet: more Raiders, more ARC, longer or denser contests around the sealed payoffs.
Pick Spaceport when: your craft queue needs industrial and old-tech parts, or a live bunker/tower condition matches a kit you can actually defend.
Skip it when: you only have hatch-or-bust extract habits, you are solo on a major condition without an exit pair, or you still need map literacy for quieter rotates.
Loadout match: mid-fight sustained ammo, utility for antenna or tower approaches when those conditions are up, and a timed extract call with cover held before the terminal beep.
The Blue Gate — valley pressure and underground commits
Blue Gate sits higher in the mountains: open approaches, orchards and towns, then tunnels and underground complexes that punish bad entries. It plays like two maps glued together—outside you get long peeks and rotate reads; inside you get choke fights and code-gated objectives when Locked Gate is live. Locked Gate also stretches the raid window and cuts the soft exits Raiders lean on.
Pick Blue Gate when: your squad can split valley watch from underground breach work, or you specifically want the Locked Gate sealed area and already know where codes drop.
Skip it when: you are solo with a fragile kit, you refuse underground CQB, or Night/EM/Locked Gate is live and you still planned around a single Hatch Key.
Loadout match: one mid-range tool for valley, one close tool for tunnels, smoke or blockers for shaft approaches, and an airshaft/elevator backup marked before you go deep.
Stella Montis — indoor layers and wing discipline
Stella Montis is a snowbound research facility built for close-quarters floors, stair mistakes, and wing-by-wing loot. Medical Research, Assembly Workshops, Cultural Archives, and Seed Vault storage are the names that matter for route talk. Distance on the flat map lies: the wrong level costs more time than the last two containers are worth. Extracts include metro-style returns, airshafts, and hatches when conditions allow—each one is a corridor problem first.
Pick Stella when: you want medical and high-tier craft pieces in short indoor loops, and your team already calls stairs and flanks.
Skip it when: you still get lost on Dam’s outdoor spine, you queue Night Raid Stella with a free loadout, or you treat every wing as mandatory instead of one accessible route plus extract.
Loadout match: CQB-first weapons, spare heals, quiet gadgets for corridor holds, and a single wing priority so you leave before the facility piles on third parties.
Riven Tides — resort rooms versus port industrials
Riven Tides is a twice-abandoned coastal resort glued to working harbor infrastructure. Hotel and resort interiors lean commercial and residential. Port Authority, stacking yards, and customs-side buildings lean industrial, electrical, and tech. Beachcombing is the map’s signature condition: detector work on the shore with open sightlines that punish greed. Public elevators and hatches (when active) replace any fantasy of a quiet gondola ride.
Pick Riven Tides when: you want mixed craft fills, Beachcombing is live and you brought a detector plan, or your squad can assign hotel versus port without crossing the whole coastline late.
Skip it when: you only chase one loot category and refuse to stay on that half of the map, or shore exposure under Beachcombing does not match your shield and heal budget.
Loadout match: flexible mid kit, detector if Beachcombing is up, and an elevator chosen from the half you actually looted.
Pendola Pass — dynamic value and gondola timing
Pendola Pass is the summit observatory settlement from the Frozen Trail drop: steep routes, shelters, and Dynamic Loot Zones that can make a familiar block richer or thinner from raid to raid. Residential stays residential and industrial stays industrial, but value shifts, so sample nearby containers before you commit to a long climb. Extraction is the Ballistic Gondola—request at a transceiver, then move to the landing marker and board a pod. There is no ordinary hatch/elevator safety net here.
Pick Pendola when: you understand transceiver-to-landing timing, your squad can fill separate pods, and you want mountain industrial/tech loops under the current zone values.
Skip it when: you are still learning extract discipline on elevator maps, you are heavily downed and treat boarding as instant immunity, or the live condition adds chaos you cannot spare timers for.
Loadout match: stamina for vertical rotates, tools for industrial containers, and a hard clock to request the gondola with margin—not at the last thirty seconds.
| Run goal | First map to try | Usually avoid if… |
| Rebuild / learn extracts | Dam Battlegrounds | You only chase sealed condition objectives |
| Medical / residential fill | Buried City or Stella Montis | You cannot hold metro or corridor extracts |
| Industrial / Exodus tech | Spaceport or Riven port side | Central elevators scare your kit price |
| Valley + underground objective | The Blue Gate | Solo fragile kit on Locked Gate / Night |
| Gondola-timed mountain loop | Pendola Pass | You still need hatch/elevator practice |
Map Conditions rewrite the same map
Conditions are scheduled modifiers, not flavor text. Check the live board before you lock a destination. Night Raid raises loot pressure and ARC aggression while cutting Return Points and shutting Raider Hatches. Electromagnetic Storm adds lightning that hits Raiders and machines, with the same hatch and return-point squeeze. Hidden Bunker only belongs on Spaceport planning. Locked Gate only belongs on Blue Gate planning. Beachcombing belongs on Riven Tides. Softer conditions like Lush Blooms or Uncovered Caches change what you scoop without rewriting the whole exit plan—still verify hatches if a major condition shares the hour.
Rule of thumb: if hatches are dark and returns are fewer, your loadout must include a public-extract fight plan. A Hatch Key in the backpack does nothing on a disabled hatch.
Match kit, economy, and map in one pass
Run the checklist in this order every queue:
- Read the live condition on your candidate maps.
- Pick the map whose loot categories match today’s craft list.
- Name primary and backup extracts that still work under that condition.
- Price the kit against that pressure—free loadout for literacy runs, invested kit only when extract and condition both make sense.
- Enter with one wing or one half-map, not a tourism loop across every POI.
Workshop upgrades, trader stock, and the blueprints you chase all feed the same decision. When a recipe still needs a pattern you have not secured through raids, players often buy ARC Raiders BluePrints from the economy side of the game and then return topside to farm the matching materials on the map that actually drops those container types. That is map choice as economy management: the blueprint unlocks the craft; the right map fills the ingredients without donating the kit on a mismatched extract.
Leave when the bag matches the goal, the condition clock is wrong for your exits, or the third party density exceeds what your squad can hold. The correct map is the one that lets you extract the run you named—not the one that looks hardest on the select screen.