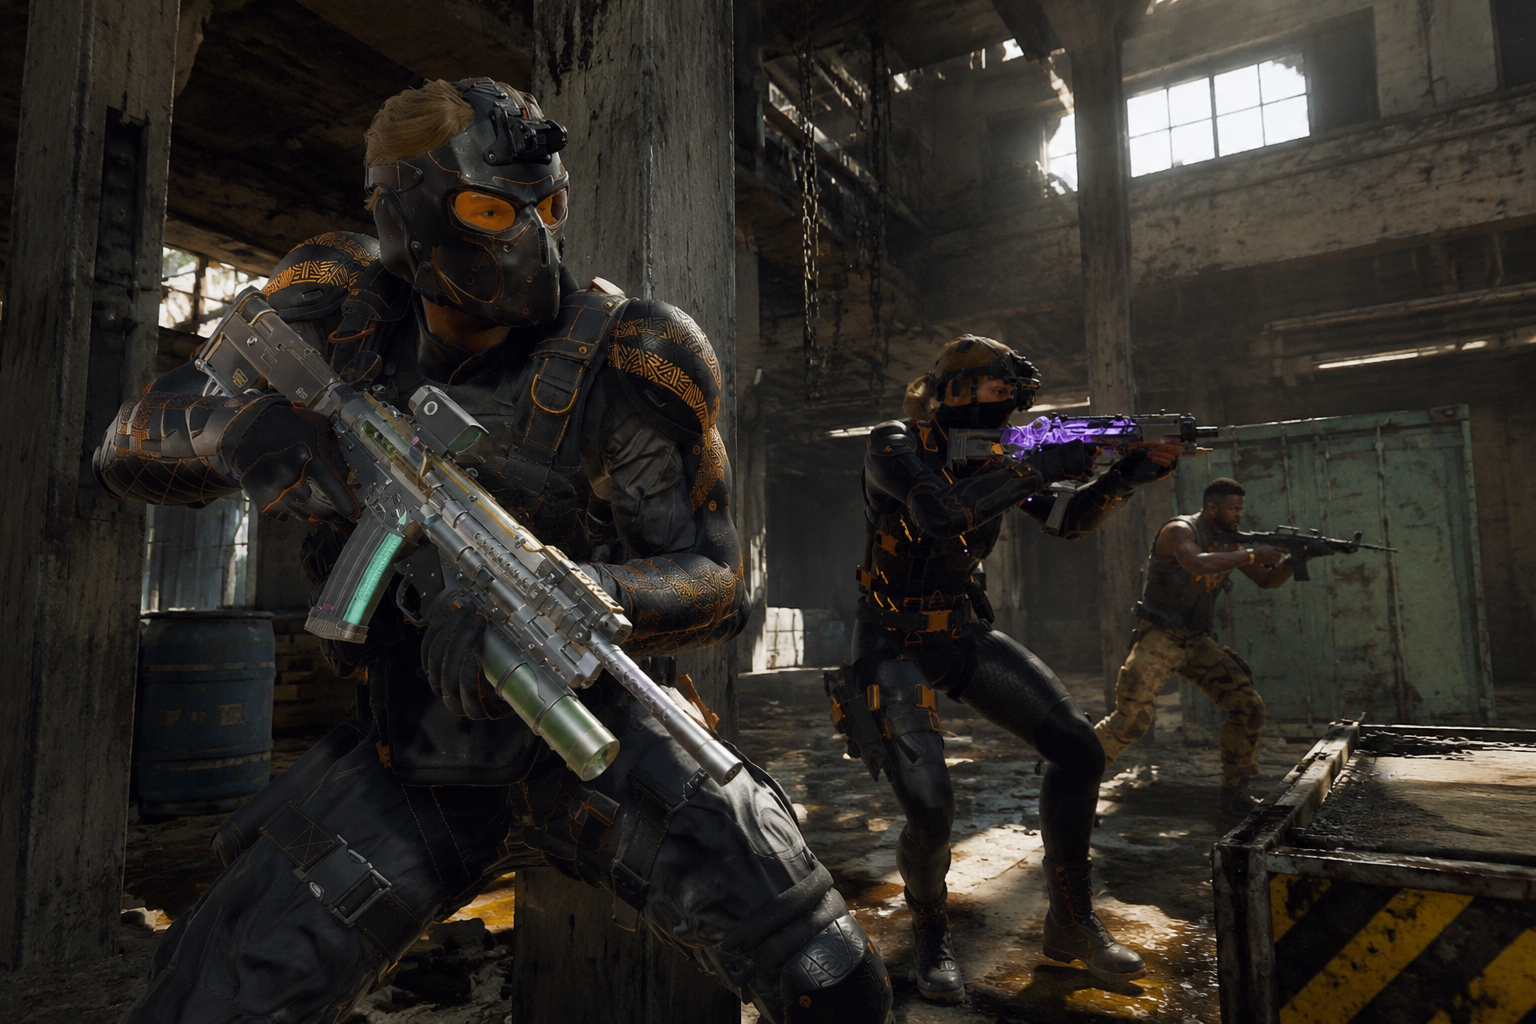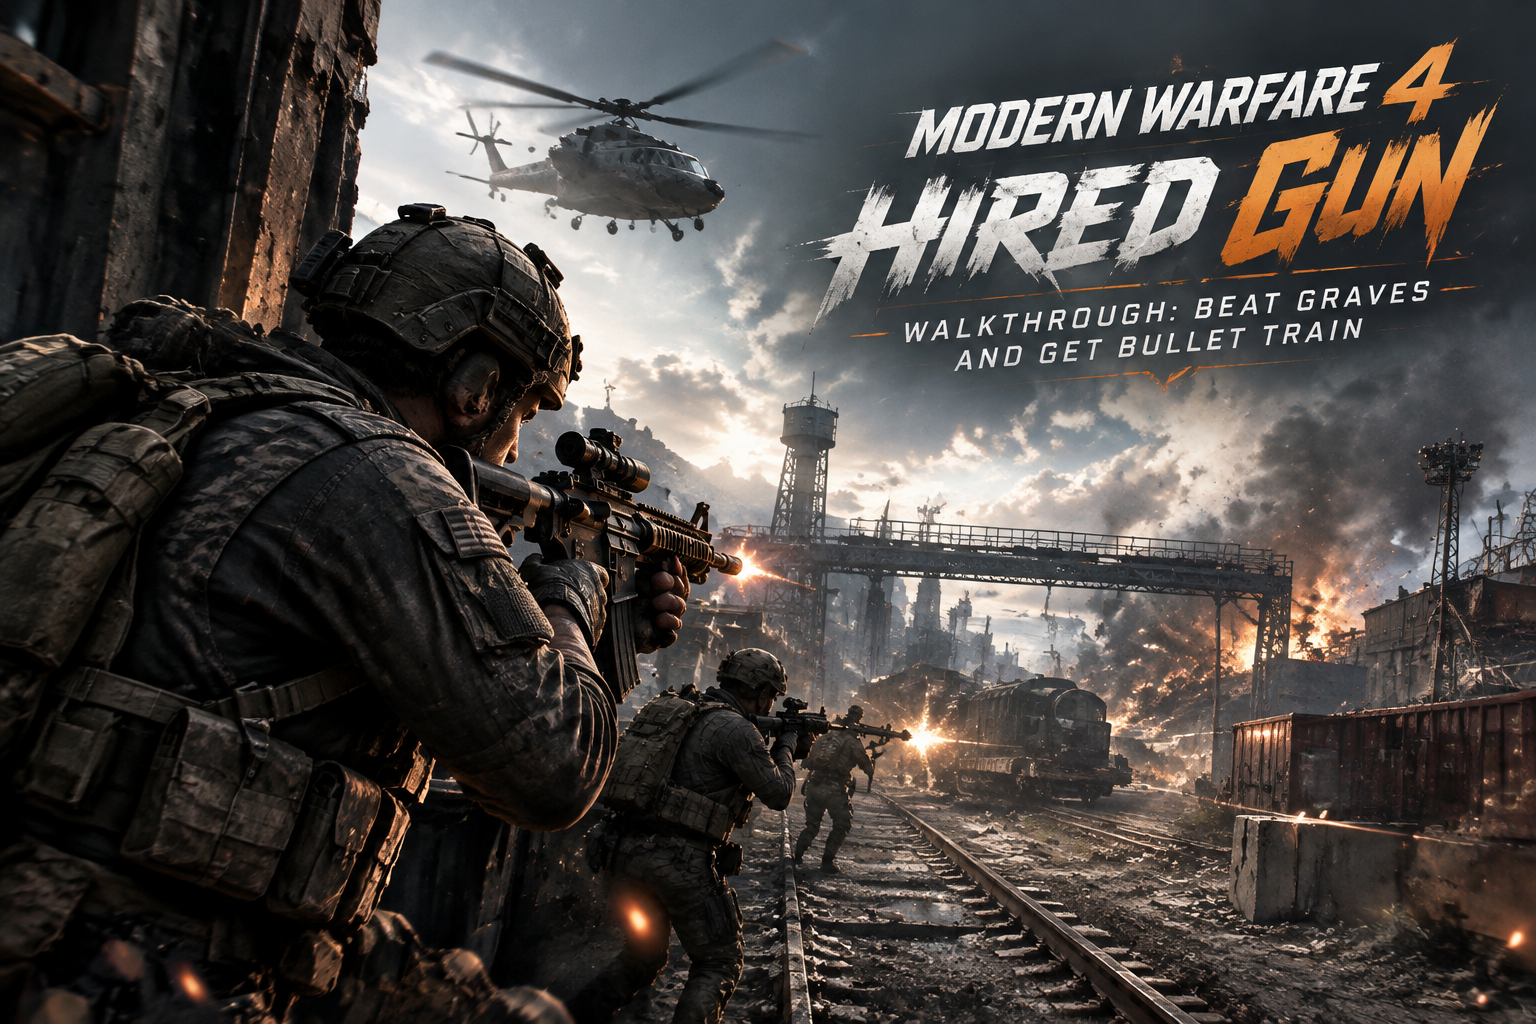
Hired Gun is Mission 4 of the Call of Duty: Modern Warfare 4 Campaign, returning control to Captain Price as he works with Valeria and fights through Shadow Company forces across a French rail complex. The mission is largely linear, but several encounters punish aggressive pushes because enemies can fire from rail cars, containers, walkways, and other elevated positions. Players who normally practice gunfights through a CoD MW4 Bot Lobby should treat Hired Gun as a cover-focused Campaign mission instead: clear dangerous angles first, maintain armor, and only cross exposed ground after reducing enemy pressure.
Escape the Train Yard
The first major firefight begins after Shadow Company stops the train. Once you’re able to move through the yard, use rail cars, vehicles, concrete structures, and other solid objects to break enemy sightlines instead of running directly across the tracks.
The biggest threat isn’t necessarily the enemy directly ahead. Shadow Company troops can occupy elevated positions around the yard, so scan above ground level before leaving cover. If an armored enemy is slowing your push, accurate shots to exposed areas are preferable to repeatedly firing into protected body armor.
Start Bullet Train Progress Immediately
Hired Gun is tied to the Bullet Train trophy or achievement, which requires you to kill 50 enemies while standing on train cars during the mission.
Don’t leave all 50 kills for the final encounter. The trainyard gives you multiple opportunities to establish a firing position on a rail car and work toward the requirement while progressing normally.
Use this approach whenever the position is safe:
- Get onto an accessible train car.
- Clear enemies visible across the tracks.
- Stay on the car until the immediate group is eliminated.
- Advance with the mission when your firing angle becomes ineffective.
- Repeat the process when another suitable train car becomes available.
The requirement is based on your position when making the kills, so simply fighting beside a train does not serve the same purpose.
Push Through the Warehouse
After clearing the opening yard, follow the route into the warehouse. Combat becomes more confined here, making corners, stairs, entrances, and elevated positions more important than the long sightlines outside.
Stay with the squad as the path forward opens. There is no need to search the building for a complicated solution to the objective; focus on clearing enemies and keeping enough armor and ammunition for the next outdoor section.
Before leaving, check nearby supplies rather than rushing straight toward the objective marker. Hired Gun strings several firefights together, and entering the next area with depleted armor makes mistakes harder to recover from.
Clear the Shipping Yard From Safe Angles
The Shipping Yard replaces open railway tracks with narrow routes between stacked containers. That limits visibility at ground level while giving enemies above the containers useful firing angles.
Clear the upper positions before committing to a narrow lane. When the mission route allows you to climb onto containers, the extra height can also give you a clearer view of enemies moving below.
Attack dogs are another close-range threat in this section. The container lanes give you less room to react, so watch the immediate route instead of concentrating entirely on distant enemies above you.
A reliable priority is:
- Clear enemies with elevation over your position.
- Remove threats blocking the next piece of cover.
- Move through exposed lanes only after reducing incoming fire.
- Recheck upper positions whenever the route changes direction.
This keeps the encounter controlled instead of forcing you to fight enemies above and ahead at the same time.
Reach the Maintenance Building Under Helicopter Fire
Graves’ helicopter becomes a direct threat as you continue toward the Maintenance Building. This section rewards timing rather than speed.
Use the train and other solid structures as protection while the helicopter attacks. When the pressure drops, move toward the next protected position instead of remaining in open ground and trying to trade fire with the aircraft.
Cover first, clear nearby infantry, move during the opening, then establish cover again.
Following that rhythm also leaves you in a better position to handle armored enemies without taking fire from several directions at once.
Clear the Maintenance Building
The Maintenance Building contains enemies across multiple elevations. Shadow Company troops can fire from upper walkways while other soldiers occupy the floor and areas around the maintenance equipment.
Don’t focus exclusively on the first enemy you see. Check the upper level regularly and eliminate enemies creating crossfire before pushing deeper into the building.
Your threat order should usually be:
- Enemies actively firing into your current position.
- Soldiers on elevated walkways.
- Enemies blocking your next safe position.
- Remaining targets farther inside the building.
Use machinery and structural cover to cut off unnecessary sightlines. If another train car provides a practical firing position, this portion of the mission can also contribute additional Bullet Train kills.
Pick Up the PR-48 Anvil Before Fighting Graves
Near the final confrontation, take the PR-48 Anvil provided with the mission equipment. You’ll need it for the helicopter encounter.
The railway turntable gives Graves plenty of space to attack from above, while infantry can continue applying pressure on the ground. Standing in the open and concentrating exclusively on the helicopter leaves Price vulnerable to both threats.
Use a simple attack cycle:
Take cover → control nearby infantry → wait for a helicopter opening → fire the Anvil → return to cover.
Valeria provides additional supplies during the encounter, so use the available resupply rather than exposing yourself unnecessarily while trying to force continuous damage.
If you’re still short of Bullet Train progress, the enemies around the railway area provide another opportunity to make kills from train cars. Treat this as extra progress rather than your only farming point.
Finish the Ground Fight With Graves
Destroying the helicopter does not immediately end Hired Gun. Graves survives the crash and continues the confrontation on the ground while wearing heavy protection.
Maintain the same cover discipline used throughout the mission. Remove nearby infantry when they create dangerous crossfire, then return your attention to Graves rather than chasing him while other enemies still have clean shots on you.
Flashbangs can create room when Graves pressures your position. Keep moving between solid cover and continue damaging him until the encounter transitions into the final scripted sequence.
Shoot Graves When the Fire Prompt Appears
The last confrontation looks like it may offer a choice, but completing the mission requires Price to follow the FIRE prompt.
Don’t wait for an alternate successful outcome. Failing to shoot allows Graves to turn the situation against Price and results in mission failure, sending you back to retry the sequence.
This matters even more during a YOLO run, where avoiding unnecessary deaths is central to completing the difficulty.
Hired Gun Reward and Replay Priorities
Completing Hired Gun unlocks the Dallas Base Operator as part of Modern Warfare 4’s Campaign progression rewards. Campaign rewards are designated for use in Multiplayer and DMZ when the full game launches.
If your wider progression plan includes a CoD MW4 Campaign Boost, Hired Gun is still a mission where knowing the encounter sequence saves unnecessary retries. The two progression points to remember are straightforward: collect the PR-48 Anvil before the final helicopter battle, and respond to the FIRE prompt after the Graves ground fight.
For a normal Campaign clear, prioritize survival and keep moving through the Train Yard, Warehouse, Shipping Yard, Maintenance Building, and final railway encounter in order. For a Bullet Train replay, change only one part of that route: spend as many suitable firefights as possible standing on train cars, starting with the opening yard instead of trying to collect all 50 qualifying kills near the end.
Once Graves is defeated, finish the mission to secure the Dallas unlock and continue to Losing Ground. If Bullet Train remains incomplete, replay Hired Gun with the achievement as your primary objective and start taking train-car kills from the first major firefight.