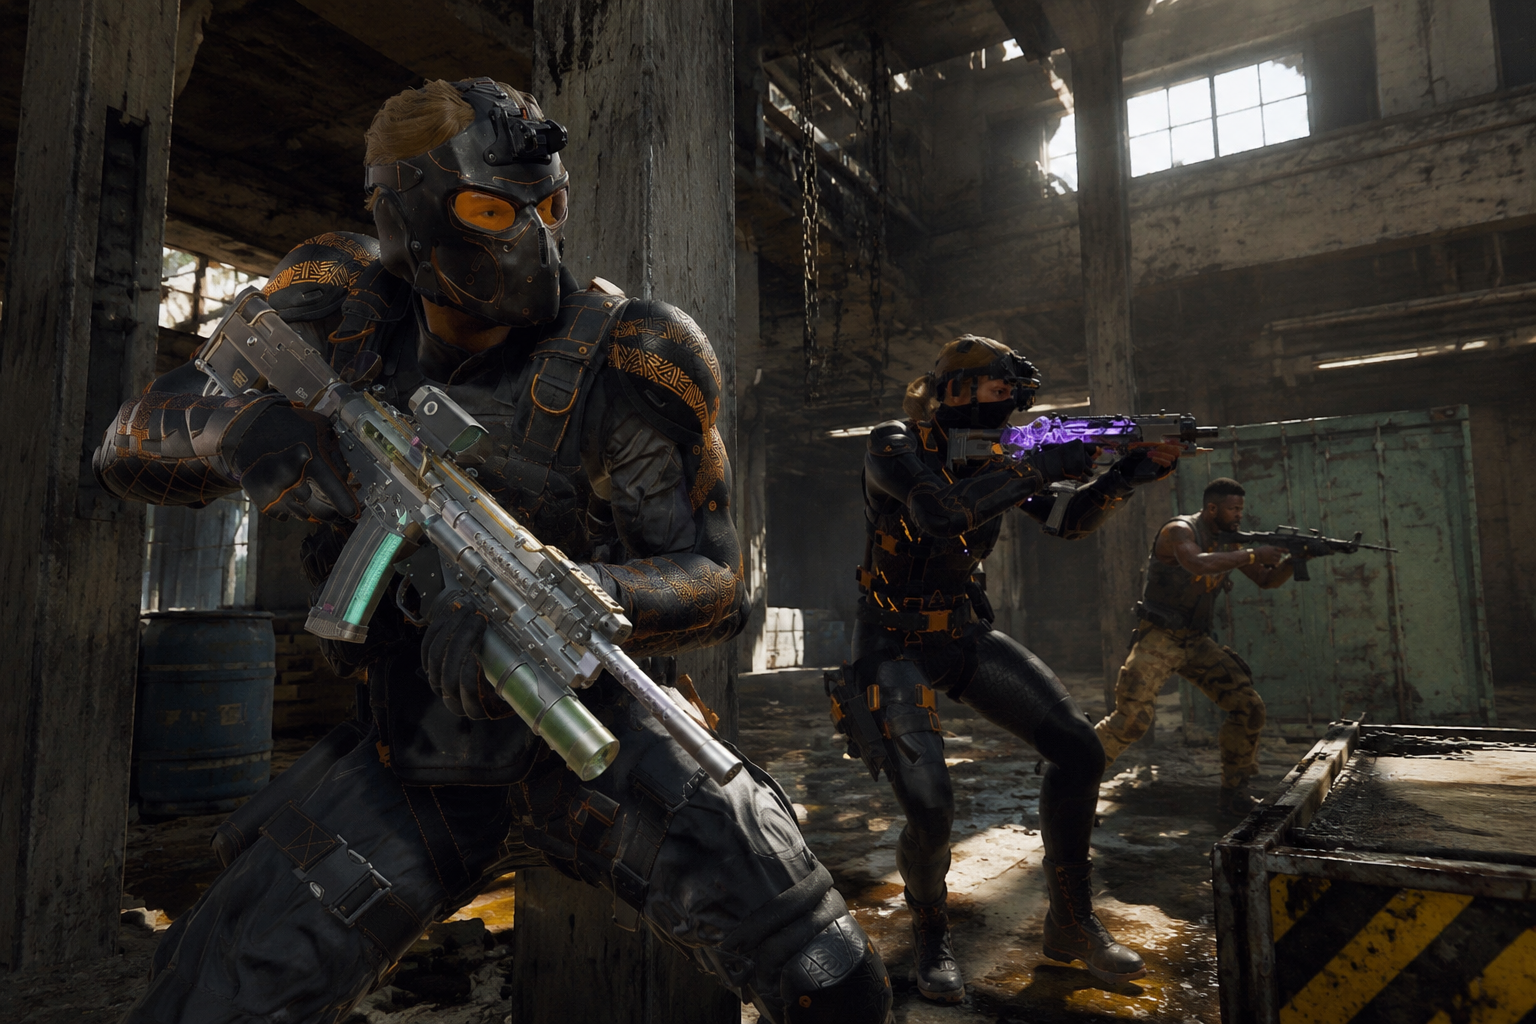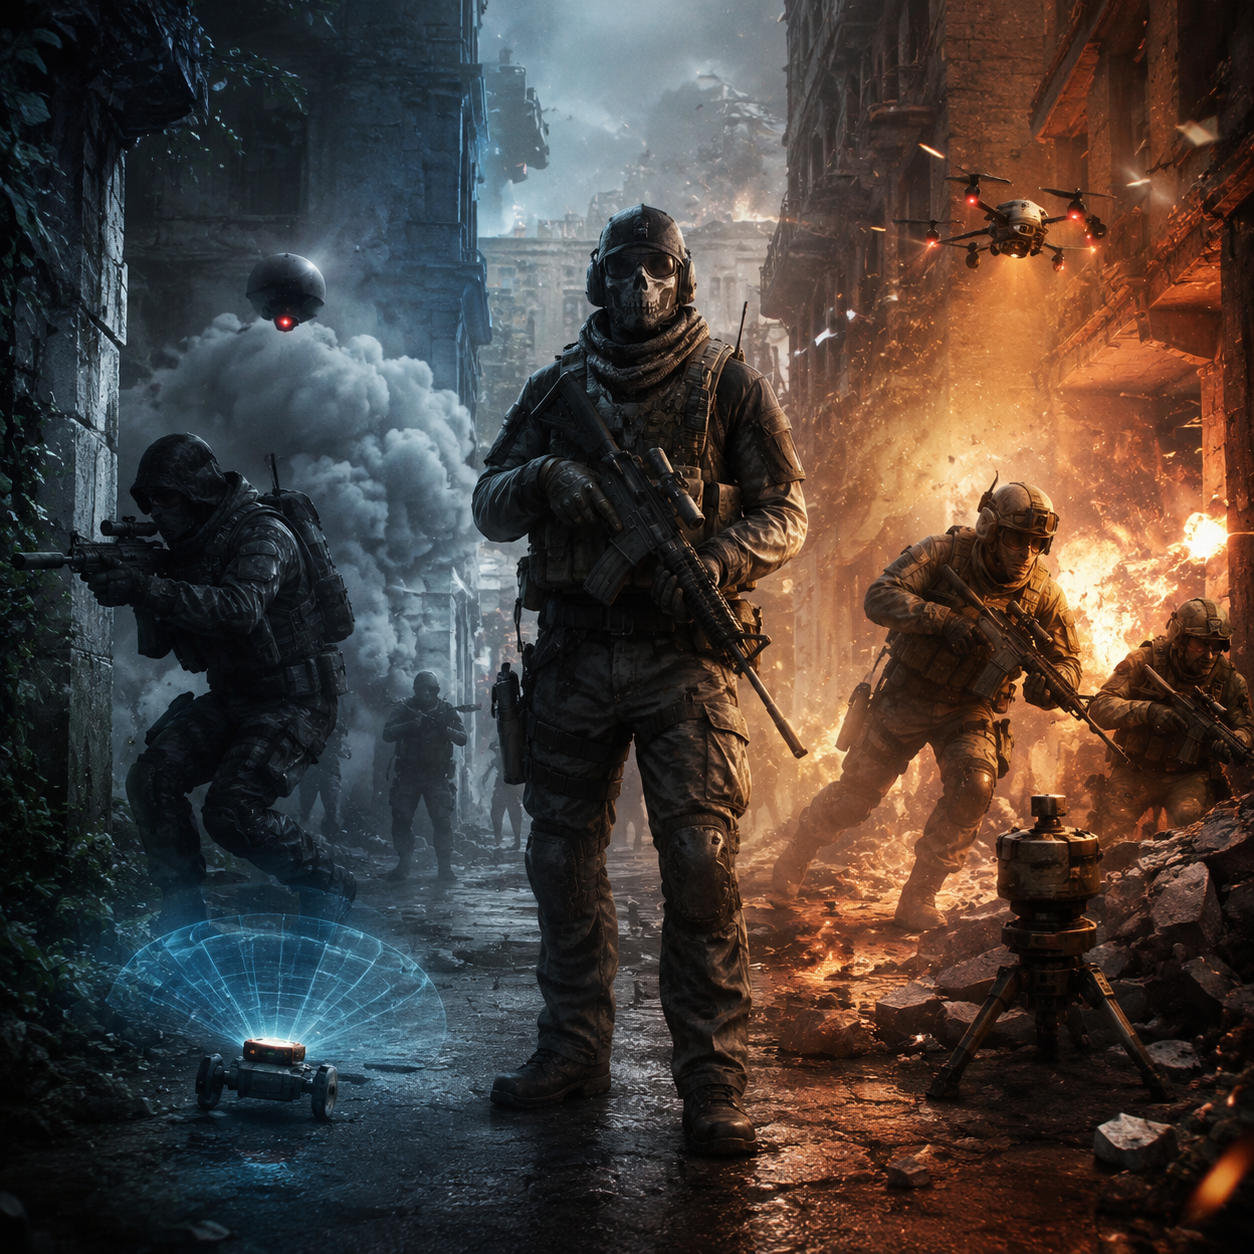
Modern Warfare 4 gives Multiplayer players plenty of room to build classes around different combat styles. The Pick 3 Perk System lets you select one Perk from each of three slots, while Field Upgrades provide rechargeable abilities that can change how you approach fights, gather information, or hold an objective. For players researching options such as Bot Lobby MW4, understanding these systems is still useful because a well-built class makes practice sessions and regular Multiplayer matches much more productive.
How the Pick 3 Perk System Works
Create a Class becomes available at Player Level 4, after which you can build custom loadouts around your preferred weapons and equipment. Instead of selecting a complete preset Perk Package, MW4 uses three separate Perk slots. Each slot offers different effects, so your final setup should match the way you actually play.
The first slot contains role-defining options such as Ninja, Ghost, Quick Fix, Overkill, and High Alert. Ninja reduces the sound of your footsteps, while Ghost keeps you undetected by several enemy reconnaissance tools. Quick Fix is particularly useful around objectives because it supports health regeneration after eliminations and while capturing.
The second slot focuses more on handling and survivability. Fast Hands speeds up reloads, Equipment use, and weapon swaps. Hardline reduces Killstreak costs, Bomb Squad improves protection against explosives, and Tracker lets you follow enemy footprints while hiding your own kill markers.
The third slot includes options such as Scavenger, Lethal Reach, Blood Rush, Battle Hardened, and Cold-Blooded. Scavenger solves ammunition problems during extended fights, while Blood Rush supports players who rely on movement and repeated engagements.
Best Perk Combination for Stealth
A stealth class should reduce the amount of information opponents receive about your location. Ninja is the obvious starting point when quieter movement matters, particularly on maps where sound can reveal a flank before you reach the enemy.
Pair Ninja with Fast Hands when you frequently use Tactical Equipment during an approach. The faster handling helps you transition between equipment and weapons without spending as much time exposed.
For the third slot, Scavenger is a practical option for players who expect to move through several enemy positions. Picking up ammunition from fallen enemy Operators allows you to remain active without depending entirely on ammunition pickups.
Another option is Cold-Blooded when enemy detection tools become a recurring problem. Its protection against AI Targeting Systems, Recon Drones, Snapshot Grenades, and High Alert can make certain routes safer.
A simple stealth setup looks like this:
Perk 1: Ninja
Perk 2: Fast Hands
Perk 3: Scavenger or Cold-Blooded
This setup does not make you invisible. You still need controlled movement, sensible positioning, and good timing. The Perks simply reduce some of the information enemies can use against you.
Best Perk Combination for Aggressive Play
Aggressive players generally benefit more from Perks that reduce downtime between engagements. Quick Fix is a strong first-slot choice because eliminations can help you recover health, while capturing objectives also activates its regeneration effect.
Fast Hands is a natural second-slot partner. Faster reloads and weapon swaps are valuable when you expect to move directly from one fight into another.
Blood Rush is the standout third-slot option for a highly mobile build. It provides longer Tactical Sprint, faster crouch movement, and stamina restoration after eliminations. That makes it particularly suitable for players who constantly reposition after winning gunfights.
Aggressive setup:
Perk 1: Quick Fix
Perk 2: Fast Hands
Perk 3: Blood Rush
Overkill can replace Quick Fix if you need two Primary Weapons for different engagement ranges. This is useful when your aggressive style involves switching between close-range and long-range fights rather than relying on a single weapon.
Field Upgrades for Stealth Builds
Field Upgrades recharge automatically after use, and each one has its own recharge rate. That means they should be treated as tactical resources rather than abilities that need to be activated immediately.
Portable Radar is useful when you need information before committing to a route. Its periodic radar pulses can help reveal nearby enemies and give you a better idea of what is waiting around a corner or beyond a chokepoint.
DDOS offers another approach. It deactivates electronics and disrupts nearby enemy sensors, making it useful when reconnaissance equipment is interfering with your planned movement.
Smoke Wall can also support stealth-oriented rotations. It creates a heavy smoke trail that can obscure an exposed route, allowing you to cross an area where moving without visual cover would be dangerous.
For players comparing services or searching for Bot Lobby MW4 for sale, it is still important to distinguish third-party offerings from official Multiplayer features. MW4’s official Beta information did not list a dedicated public Multiplayer playlist that simply replaces human opponents with AI bots, so a class should not be built around the assumption that such a playlist exists.
Field Upgrades for Aggressive Classes
Aggressive classes benefit from Field Upgrades that help create an opening before the next engagement.
Seeker Drone is useful when you want information before pushing. It searches for nearby enemies and snapshots them, helping you identify targets without exposing yourself immediately.
Trophy System is better suited to objective pushes and defensive holds. It can destroy incoming airborne projectiles, reducing the pressure from grenades and other thrown equipment.
Riot Shield provides deployable cover and can help create a safer position during a push. Since it is destructible, however, it should not be treated as permanent protection.
Razor Wire works well around predictable routes. Placing it near a doorway, chokepoint, or commonly used approach can interfere with enemy movement and buy you time to prepare for the engagement.
Match Your Loadout to the Mode
Perk choices become more valuable when they reflect the rules of the mode you’re playing.
In Team Deathmatch, Blood Rush and Fast Hands are strong choices for players who want to maintain pressure between eliminations. There is less reason to build around prolonged objective defense because the mode is centered on eliminations.
Hardpoint and Domination create more predictable combat zones. Quick Fix becomes especially attractive here because its effect works while capturing objectives. Trophy System and Smoke Wall can also provide practical support when teams repeatedly fight over the same area.
Search and Destroy rewards a more controlled approach. Ninja, Ghost, Portable Radar, and DDOS can all contribute to information management, but the best combination depends on whether you are attacking or defending and what equipment the opposing team is using.
Don’t Waste Your Field Upgrade
A common mistake is using a Field Upgrade simply because it is available. Since every Field Upgrade has its own recharge time, poor timing can leave you without the ability when it would actually matter.
Use Portable Radar before entering an uncertain area, Seeker Drone before a dangerous push, and Trophy System before an objective becomes contested. Smoke Wall is more valuable when you already know the route you need to cross instead of being deployed randomly in the middle of a fight.
The same principle applies to stealth Perks. Ninja does not mean you should sprint everywhere, and Ghost does not mean enemy players cannot predict your location. Perks work best when they reinforce good movement and positioning rather than replacing them.
Test the Class Before Changing Everything
MW4 includes the Firing Range for testing weapons, attachments, and weapon handling, while the Mobility Course provides dedicated movement practice. These tools make it easier to identify problems with a class before entering repeated Multiplayer matches.
Start with one clear role. If the class is supposed to support stealth, test how effectively Ninja, Ghost, your chosen weapon, and your Field Upgrade work together. If the class is designed for aggression, pay attention to how often Quick Fix activates, how much value Fast Hands provides, and whether Blood Rush actually matches your movement habits.
Change one component at a time instead of rebuilding the entire class after every match. That makes it much easier to determine whether a Perk or Field Upgrade is genuinely improving your performance.
The strongest MW4 setup is ultimately the one that matches your behavior. Stealth players can build around quieter movement, reconnaissance protection, and controlled rotations, while aggressive players can focus on health recovery, faster handling, and sustained mobility. As more Perks and Field Upgrades become available with the full game, these core principles should remain useful for adapting your loadouts to new weapons, maps, and Multiplayer modes.